Tv Monster Sculpt – Completed

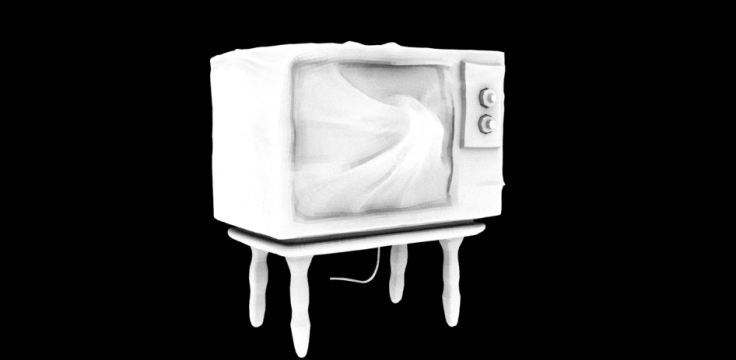
The sculpt is finally complete, and I can happily say i’m pretty proud of it! The following model is the high poly version.

High Poly


Low Poly version; for Animation.

Screen Shot 2017-01-09 at 03.18.17.png

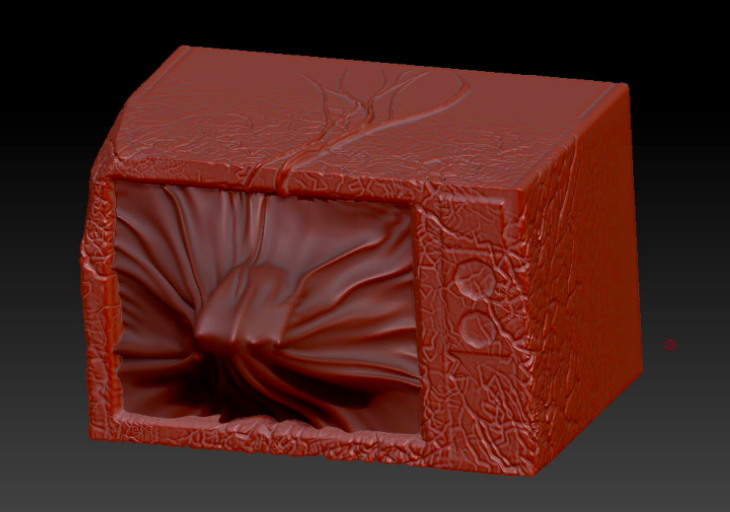
So obviously I chose to take on the digital sculpt assignment. It was strongly recommended that we sculpt our monster in using zBrush, so that was my program of choice. The user interface was pretty scary to begin with but the more I used the program the easier it got, although I still have so much to learn.

I love how the final sculpt turned out and as I said above, with it being my first proper sculpt I am quite pleased with it! However, when it came to breaking it down and retopologizing it so it would be suitable for animation, I lost so much detail. I attempted to retopologize by hand but I just couldn’t for the life of me work out how to create proper edge flow when it came to the veins coming from the screen. Seeing as they were spreading out in different directions across the surface I had no clue. I decided to use the Remesh option under the subtools to bring the polycount down, then zRemesh’d it. The topology was awful at first, but by using the zRemesher guideline tool I easily fixed this problem.

Retopology

I’m getting there! Almost done. The next step is to retopologize my sculpt before adding the last details.

Oh boy… The problems I ran into at this stage… Retopology = Satan. Fact. Okay so the sculpt is done, now I have a remeshed lower poly model, i’ve zRemeshed it and the topology is pretty good. Now all I have to do is project the detail from the high poly.

“Woah, i’m going to stop you right there and hideously deform your model because nothing’s ever that easy! :)))) ” zBrush said. And it did.

So yeah this was something that took a lot of playing about with. I wish I could say I figured out the problem and managed to project the detail but because of the time left I didn’t. I wish I had’ve worried about the topology much sooner, because with the time I had left I really messed things up for myself. I am happy with how the high poly turned out, and while the final low poly turned out okay it could have been much better.

In the end I had to just go with the Remesh option under subtools, then zRemesh it. And as I said above, this got the job done but it wasn’t as good as it should have been had I have had more time.

zBrush: Detailing

Now that my model is in zBrush I can start applying detail. In this stage I started using the “alt” option to start cutting into the model and altering its shape. Once I was happy, I began to use alpha brushes to add details like the cracks and veins on the model.

detailrenderdetail


I then went onto build the tv’s stand in maya, then apply the detail in zbrush, along with the cable coming from the back of the screen. I Also re-applied the buttons.

Blog.pngfinal-detail

This slideshow requires JavaScript.

Showreel – Take 1

Here’s the first draft for my showreel, as of right now its more a first draft than anything. A placeholder until i finish up these projects and can insert the final models. I have to re-render a few scenes. The environment one for example is quite jumpy and it needs a few wireframes in there. I’m happy with the format, although as I said this one is a placeholder until I get get those other models finished up.

Blog at WordPress.com.

Up ↑